For home maintenance, caulking is an essential skill. Gaps between two objects, whether it's a bathtub or elsewhere, often become breeding grounds for mold due to water seepage. In this article, Giving Tree Home will guide you through the comprehensive process of removing old caulk from the bathtub and re-caulking, applicable for bathtub replacement or issues like cracked caulking material. By sealing the gaps with waterproof materials, you'll learn how to effectively prevent water leakage issues, safeguarding your home from dampness and mold.
When to Recaulk a Bathtub
If you observe any of these signs in the caulk around your bathtub, it's time to consider removing and replacing it.
Visible Cracks and Gaps
Visible cracks and gaps in the caulk indicate that it's wearing out. Brittle caulk may also show noticeable openings, signaling failure and the need for replacement.
Discoloration
A yellowish color developing in the caulk seal suggests compromise and potential loss of waterproofing. This often results from exposure to sunlight, harsh cleaning agents, or moisture.
Peeling
As time passes, caulk in the bathtub may begin to peel off, indicating failure and necessitating replacement.
Mold Growth
Mold growth anywhere in the bathroom signals water infiltration. If mold is growing on the caulk, it's compromised and failing.
Soft or Spongy Texture
Healthy caulk should feel firm and intact to create a watertight seal. If it feels spongy when gently pressed, it's showing signs of failure.
Brittle Caulk
Flexible caulk is vital for enduring movement and vibrations. If the caulk becomes firm and lacks flexibility, it has likely failed and requires replacement.
Separation from the Surface
For effective water infiltration prevention, caulk must remain in contact with both sides of the gap, such as the bathtub and the wall. If the caulk detaches from either substrate, it has failed.
What is Required
- Utility knife
- Caulk gun
- Caulk tube
- Wet paper towel
- Painting tape
- Alcohol
- Bleach or another disinfectant solution
Removing the Old Caulk
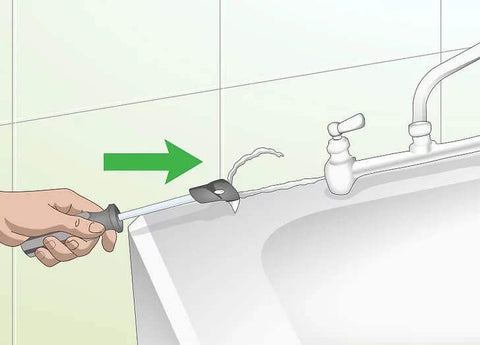
- Cut:
This step is necessary only if you're replacing the bathtub caulk. If so, take a utility knife and carefully cut away the old caulk from the joint where the tub meets the wall, ensuring not scratch the bathtub and leave marks.
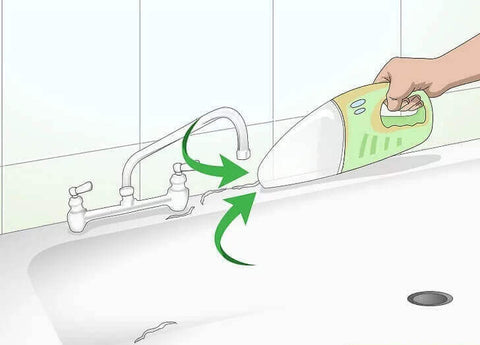
- Clean up:
Once you've cut away the old caulk, remove any remaining bits. Use a dry, non-abrasive scrubber or cloth to wipe away the remnants of caulk from the cutting.
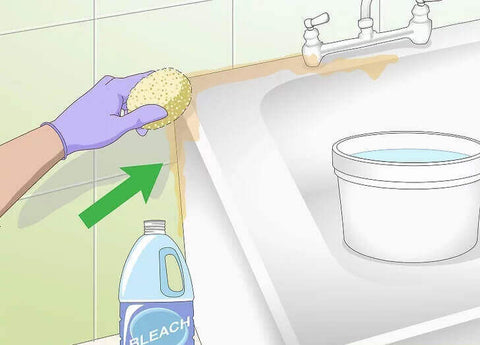
- Disinfect:
After removing the caulk, it's advisable to disinfect the gaps in the bathtub. Apply bleach or another disinfectant solution along the gaps.
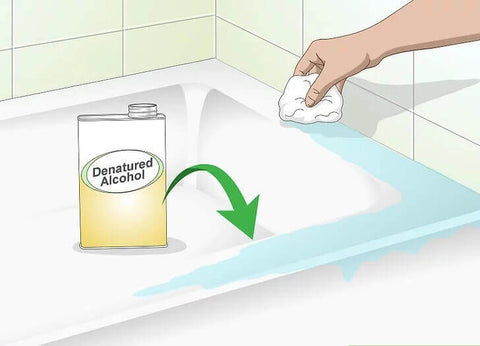
- Dry:
Lastly, wipe down the caulk around the tub with a towel dampened with water or alcohol. Alcohol is preferred as it evaporates quickly, ensuring the area is dry before applying new caulk to avoid any issues.
Applying the New Caulk
- Preparation
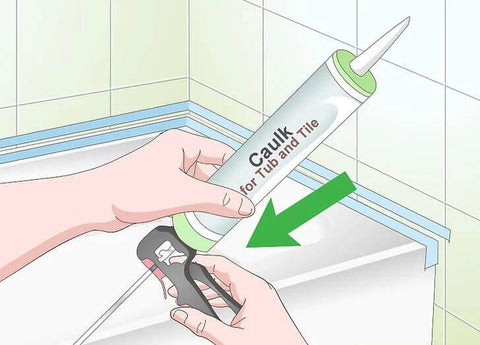
Begin by applying parallel strips of painter's tape across the area to be caulked, leaving a space of about ⅜ of an inch between them. Cut the nozzle of the caulk gun at a 45-degree angle to facilitate the dispensing of the caulk.
- Apply Caulk
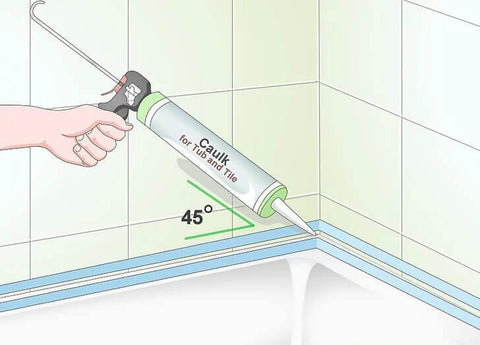
Hold the caulk gun at about a 45-degree angle to the surface where the caulk will be applied, aiming the nozzle at the tub gap. Apply steady pressure to the gun while dragging it smoothly along the gap.
- Squeeze
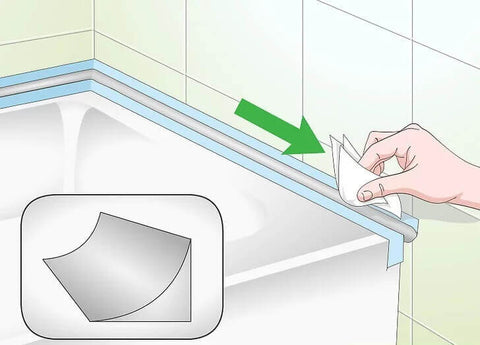
Although the caulk has covered the bathtub gap, it may not have fully penetrated. Use a wet paper towel to lightly press the surface of the caulk, encouraging it to penetrate into the gap.
- Remove the Tape
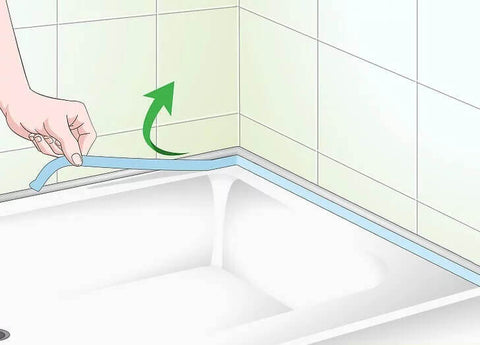
Once the tub caulking is nearly complete, carefully remove the strips of painter's tape. Inspect the edges of the caulked area to ensure their integrity.
- Allow for Curing
Allow the caulk to dry for at least 30 minutes before touching or using the bathtub. Avoid using the bathtub for the next 24 hours to ensure that the caulk forms a strong, watertight seal.
Common Mistakes When Caulking a Bathtub
Proper caulking practices are crucial for ensuring the longevity of the caulk, saving you time, money, and the frustration of having to replace it prematurely.
Ignoring Recommended Curing Time
Caulk typically requires a curing time of one day, or 24 hours, as advised. However, this may vary, and it's crucial to follow the manufacturer's instructions for the correct waiting time. Proper curing ensures elasticity and adequate adhesion, avoiding issues such as stiffness and poor bonding.
Incorrect Smoothing Technique
When smoothing freshly applied caulk, it's essential to do so immediately before the curing process begins. Avoid using your fingers and opt for a paper towel or cloth instead. Ensure that the smoothing tool is dry, as wet materials can affect the caulk's integrity. Wipe off any excess caulk for a neat finish.
Applying New Caulk Over Old Caulk
Before applying new caulk, it's crucial to remove all traces of the old caulk and clean the surface thoroughly. Applying new caulk over old residue can compromise adhesion and result in ongoing issues. To achieve proper adhesion and a watertight seal, remove the old caulk, clean, and dry the surface before applying new caulk.
Ending
Recaulking a bathtub is a task that is both simple and meticulous, requiring patience to ensure the best results. During the process, Giving Tree Home recommends keeping the bathtub surface clean and closing the drain to prevent debris from entering the drainpipe. The focus of this article is on the bathtub recaulking process. If you're facing difficulties with bathtub replacement, reading this article alongside "How to Replace a Bathtub" will provide you with greater assistance.


